Upload to Firebase Storage with Gatsby and Netlify
Posted on
Create a New Firebase Project
The first thing we'll need to do is create a place to upload files to so head on over to Firebase and create a new project. Once you've named and created your project you'll be redirected to this page.
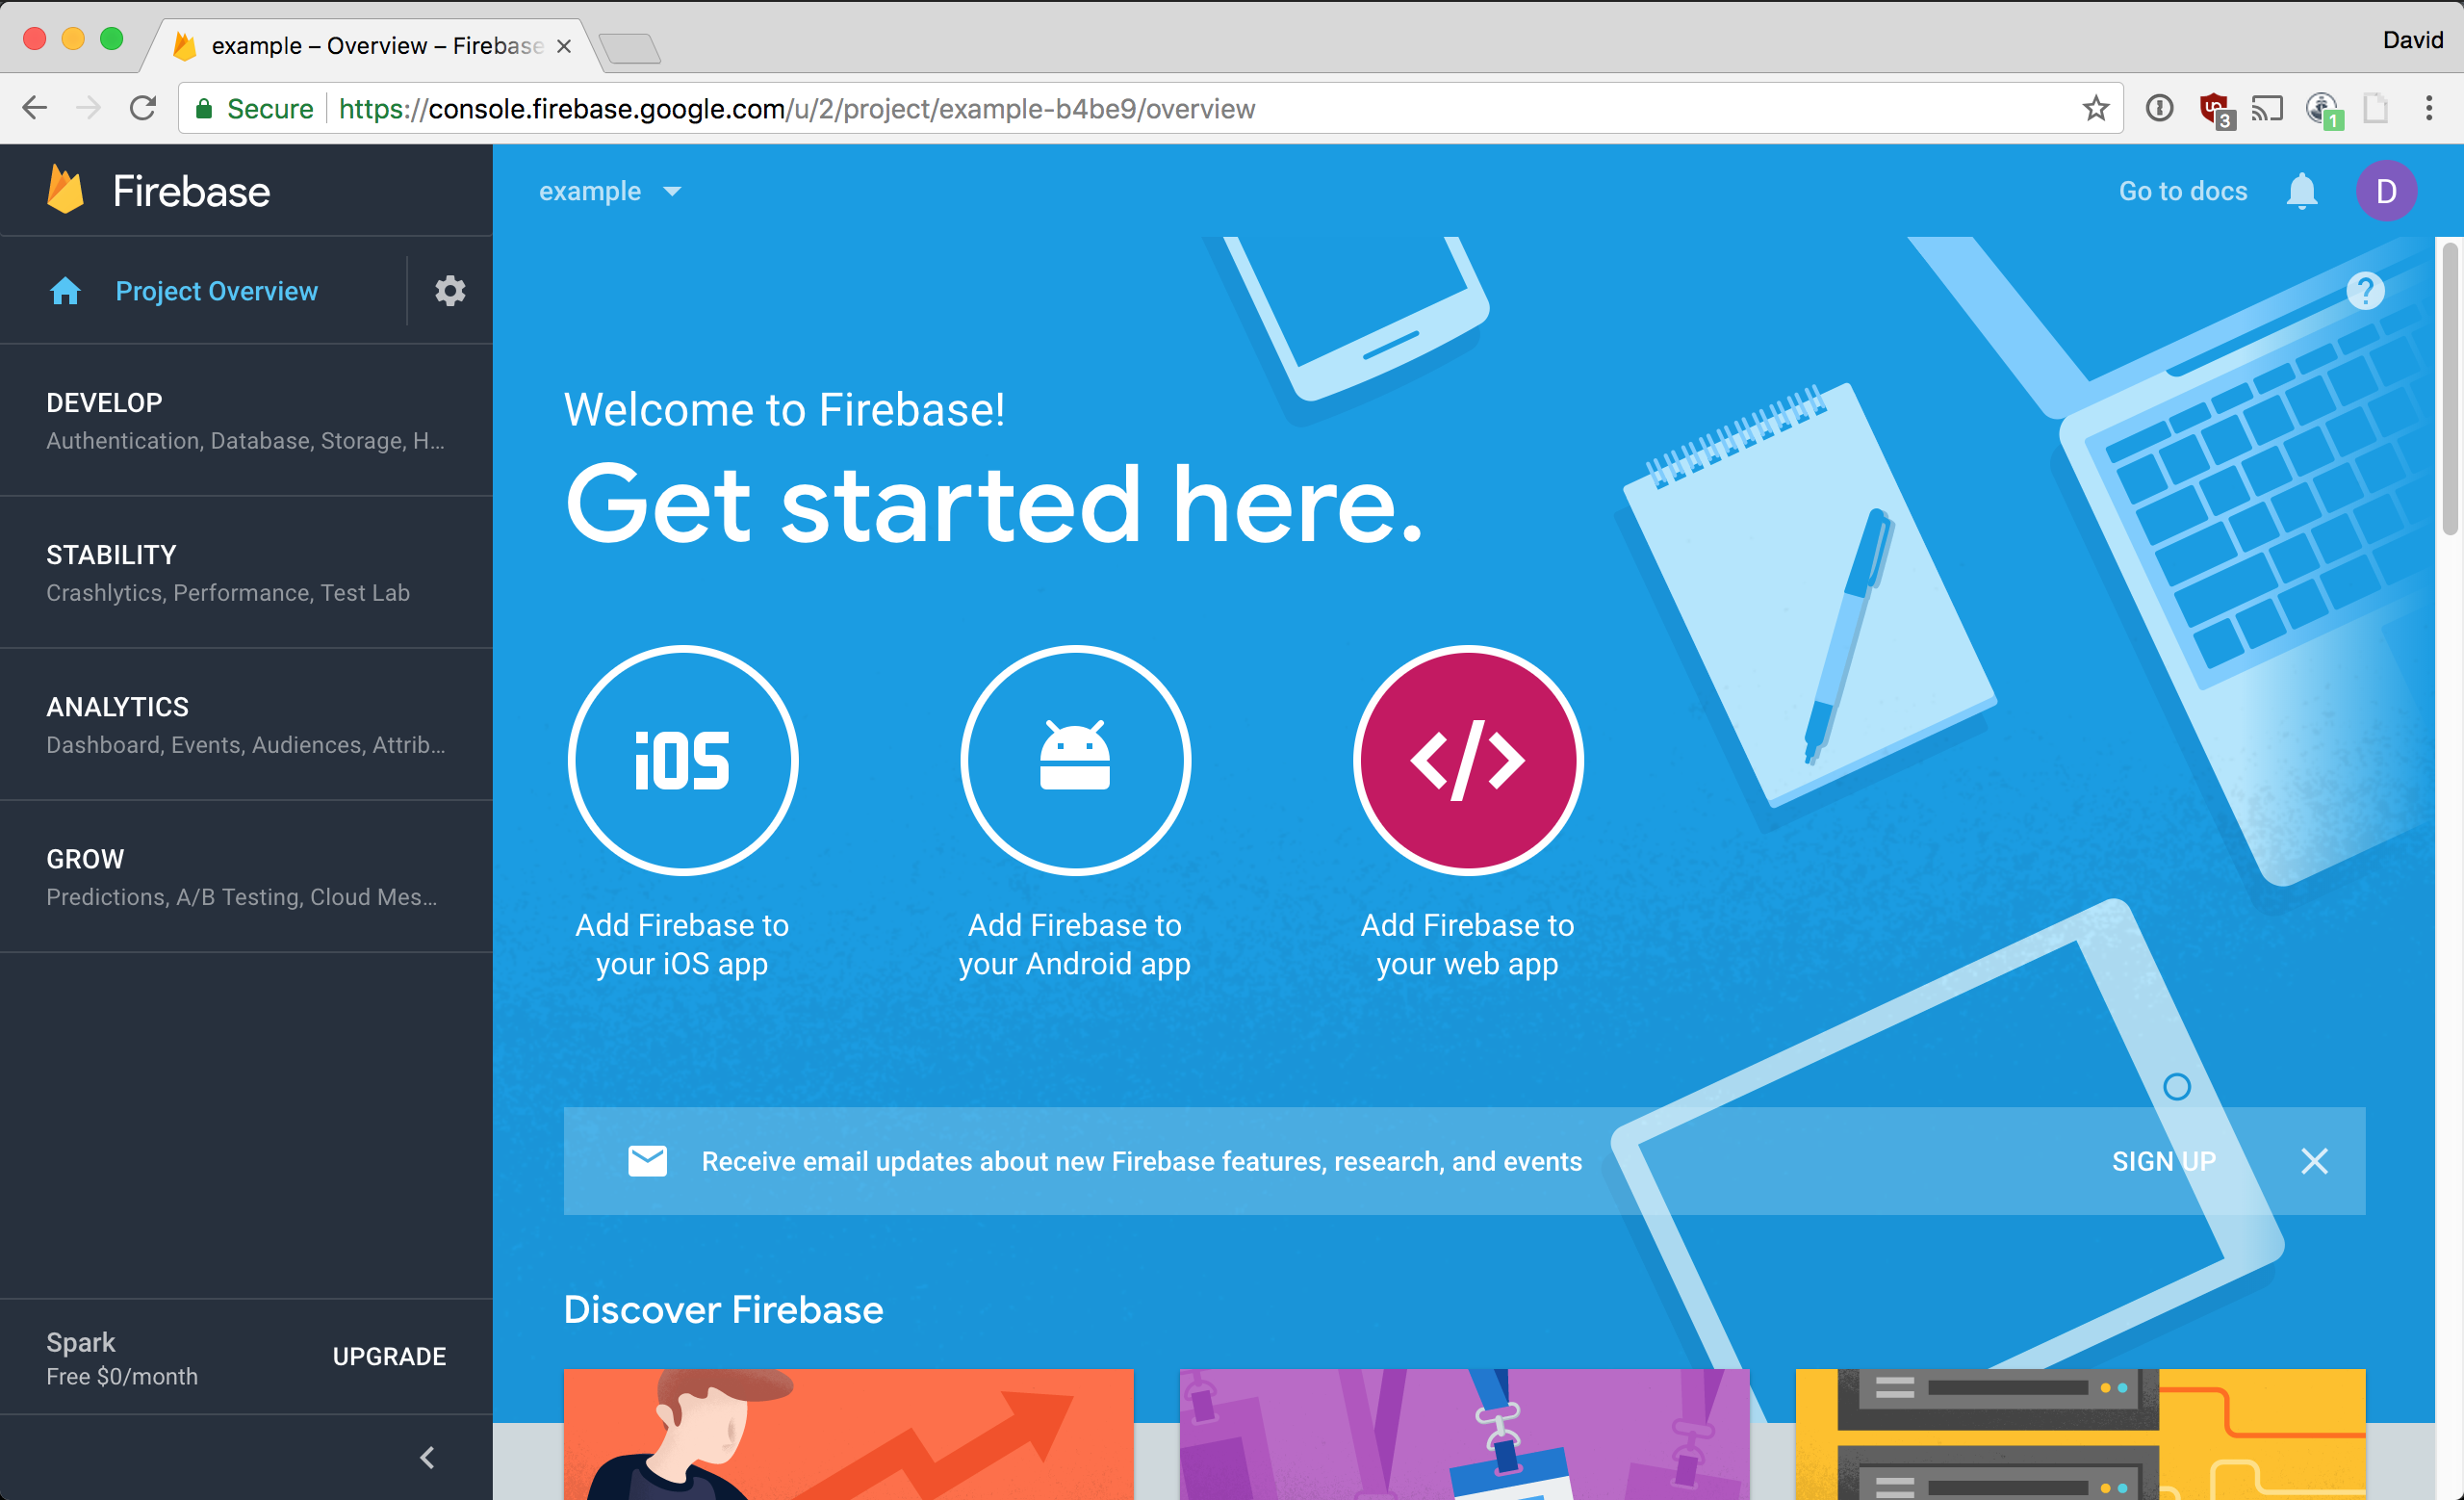
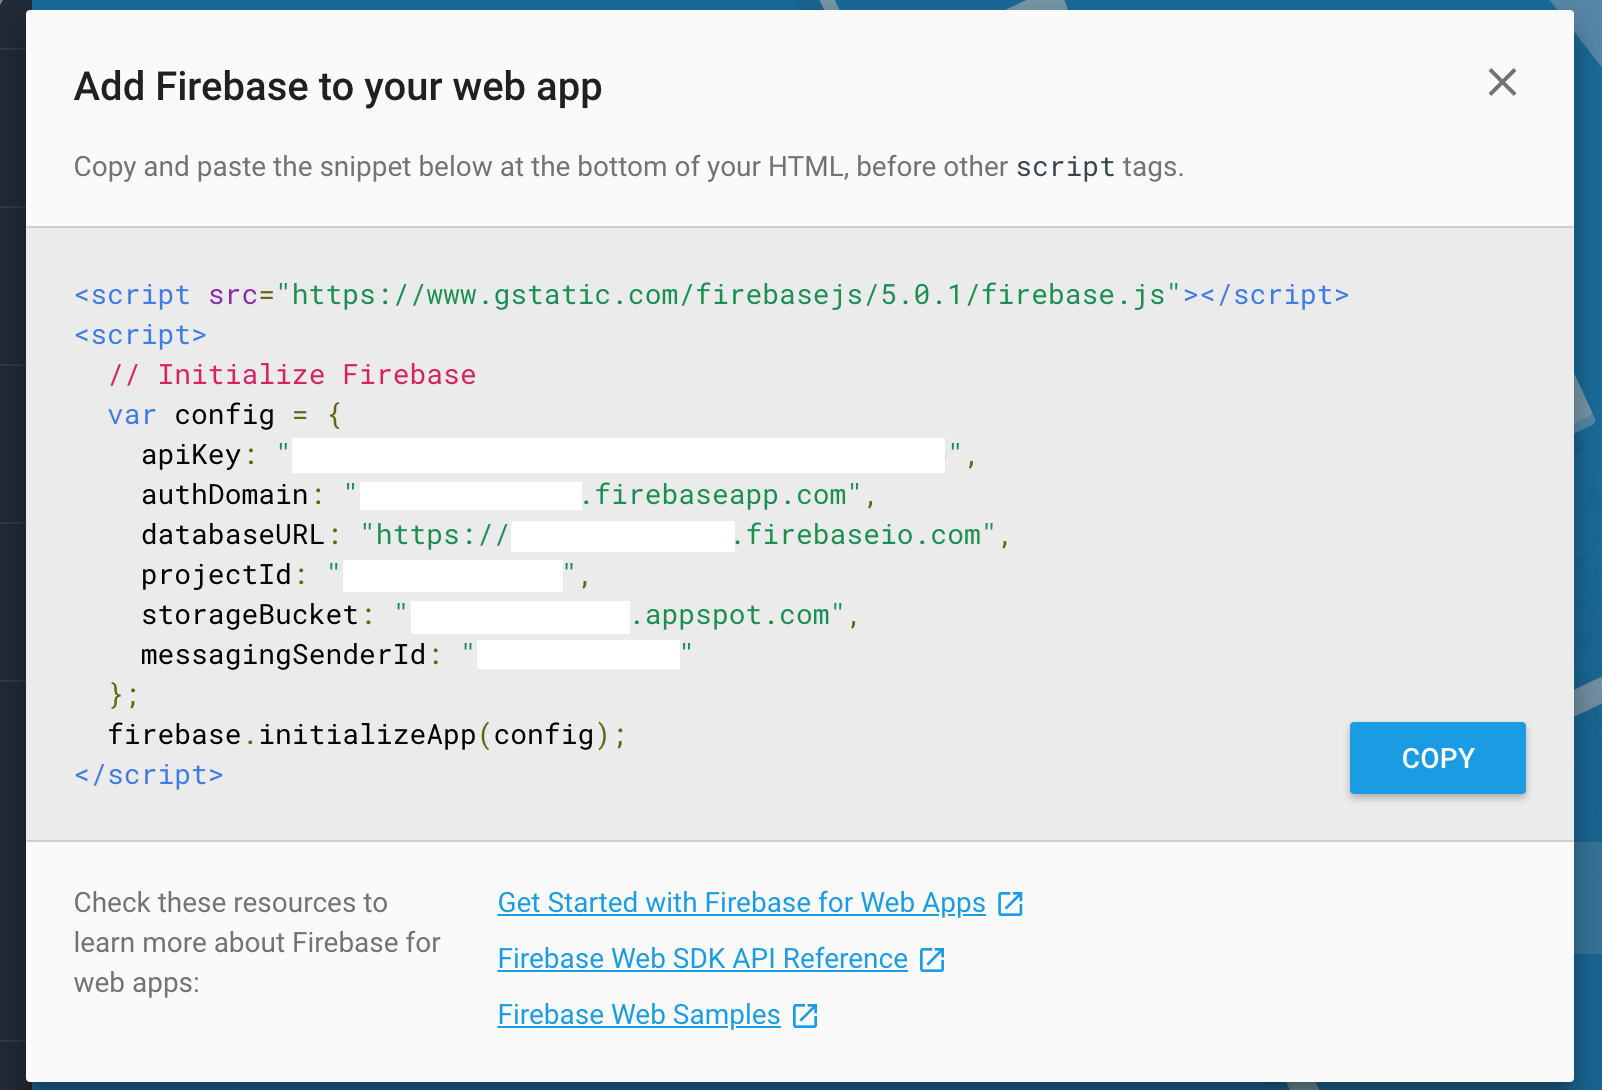
You want to click on Add Firebase to your web app which is highlighted in the picture above. A popup will appear with configuration variables that you will want to copy and save.
Add Firebase to Gatsby
Now that we have a place to store our files, we'll need to install and add Firebase to Gatsby. To install Firebase, use either yarn add firebase or npm install --save firebase. To add Firebase to Gatsby, create a file in the src directory. I chose to create src/utils/firebase.js, but this is your choice. Now in this file, you'll need to add
import firebase from 'firebase'
import 'firebase/storage'

const config = {
  apiKey: process.env.GATSBY_API_KEY,
  authDomain: process.env.GATSBY_AUTH_DOMAIN,
  databaseURL: process.env.GATSBY_DATABASE_URL,
  projectId: process.env.GATSBY_PROJECT_ID,
  storageBucket: process.env.GATSBY_STORAGE_BUCKET,
  messagingSenderId: process.env.GATSBY_MESSAGING_SENDER_ID,
}

if (!firebase.apps.length) {
  firebase.initializeApp(config)
}

const storage = firebase.storage()

export { storage }
The first line obviously imports Firebase. You'll then need to import any additional Firebase services you want to use so here we're importing Firebase's Storage service.
The next lines are a copy of the config from the earlier popup instructions from Firebase. I'll go over the environment variables a little bit later.
The next lines keep Firebase from initializing more than once.
Finally, we export the storage service.
Set Environment Variables
The key line in the Gatsby docs for environment variables is "In addition to .env.* files, any variable in the environment prefixed with GATSBY_ will be made available in browser JavaScript.". Since we'll need to use Firebase in the browser, and not at build time, we need to prefix our environment variables with GATSBY_.
For development, create a .env.development file in the root of your Gatsby project and set your Firebase config variables.
GATSBY_API_KEY=xxxxxx
GATSBY_AUTH_DOMAIN=xxxxxx.firebaseapp.com
GATSBY_DATABASE_URL=https://xxxxxx.firebaseio.com
GATSBY_PROJECT_ID=xxxxxx
GATSBY_STORAGE_BUCKET=xxxxxx.appspot.com
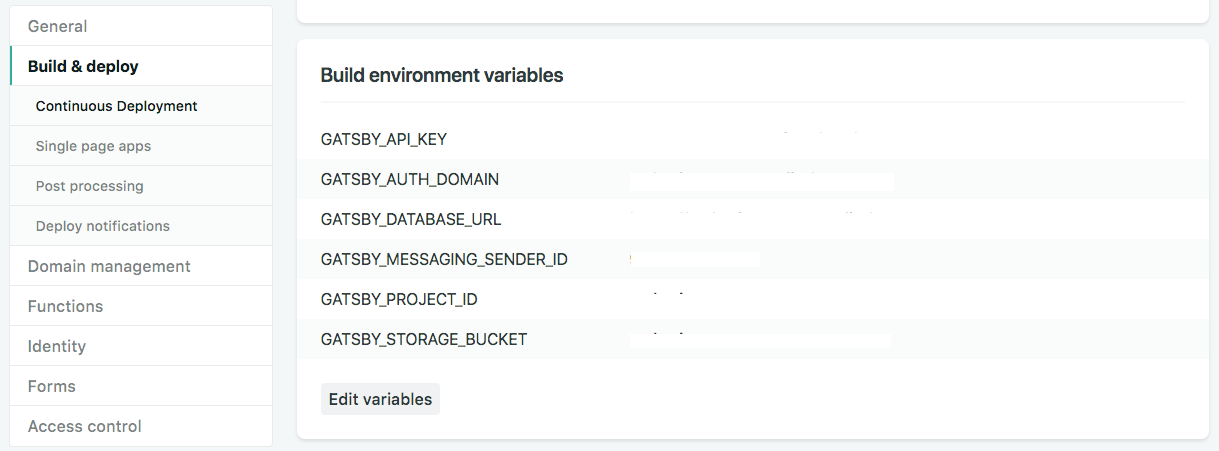
GATSBY_MESSAGING_SENDER_ID=xxxxxxxFor production, select your project in Netlify and go to Settings > Build & deploy > Continuous Deployment > Build environment variables. Now save the same environment variables above to Netlify.
Create Component to Upload Files to Firebase Storage
Finally, it's time to create a component to upload to Firebase.
import React, { Component } from "react";
import { storage } from "../utils/firebase";

export default class FileUploader extends Component {
  constructor(props) {
    super(props);
    this.state = {
      progress: 0
    }
    this.handleSubmit = this.handleSubmit.bind(this);
  }

  handleSubmit(event) {
    event.preventDefault();
    const file = this.fileInput.files[0];
    let uploadTask = storage
      .ref()
      .child(file.name)
      .put(file);

    uploadTask.on(
      "state_changed",
      snapshot => {
        // Handle progress of upload
        let progress = Math.round(
          snapshot.bytesTransferred / snapshot.totalBytes * 100
        );
        this.setState({ progress });
      },
      error => {
        // Handle unsuccessful upload
      },
      () => {
        // Handle successful upload
        this.setState({
          progress: 100
        });
        uploadTask.snapshot.ref.getDownloadURL().then(downloadURL =>
          console.log(`Your uploaded image is now available at ${downloadURL}`);
        );
      }
    );
  }

  render() {
    return (
      <form onSubmit={this.handleSubmit}>
        <label>
          Upload file:
          <input
            type="file"
            accept="image/*"
            multiple={false}
            ref={input => {
              this.fileInput = input;
            }}
          />
        </label>
        <br />
        <button type="submit">Submit</button>
      </form>
    );
  }
}
Allow Public Access to Firebase Storage
Lastly, we need to make sure our component has permission to upload to Firebase.
In the Rules tab of your Firebase Storage, we need to grant public access to our Storage since there is no authentication. Set your rules to the following
service firebase.storage {
  match /b/example.appspot.com/o {
    match /{allPaths=**} {
      allow read: if request.auth != null;
      allow write;
    }
  }
}